So we all know Orks are big fans of looting everyone else's gear, but have you ever realised that can happen two ways? I have been charged with turning an ork dakkajet into an imperial equivalent. I've been sent many pictures of USAF sabre jet fighters(big in the 50's, so I've learned) to act as the inspiration for the conversion.
This conversion needs thinking about. I've never done anything like it before. the closest is probably either looting imperial gear for ork armies, or turning Imperial gear heretic for chaos armies. Changing human stuff into ork looted versions probably isn't going to help here. They just get busy with the sheet metal and the rivet gun.
Changing imperial stuff into chaos may help a little. When that happens, the gods/warpsmiths/modeller strips all the iconography, then warps the machine to better suit his needs or tastes. However, a chaos land raider can still look like a land raider underneath. This has got to be different.
This plane can't look like its come from ork hands into imperial ones(heresy!), but it got to look like its been bolted and welded together in an imperial maufactorum. Lets not forget our american inspiration either.
So the issue is, there's a few things I can't change about the model. I can't really change the fuselage shape. The wings will have to swept back really. Not very imperial, but perhaps American enough. The canopies will have to stay the same, the plastic is to brittle to work with.
Looking at forgeworld imperial fliers, once I've realised the shape of the dakka jet can't change, the main difference is suface details. As we know, the Orks have riveted this sucker together. The imperials weld, and rivet if they have to. Queue the scalpel and sand paper...

So every piece pretty much needs rivets cutting off, then smoothing off with one of the missus' emery boards, and then finishing off with some misplaced finishing sanding pads from work. This is have modelling, half joinery...

Next up, I got the pilot in place. I did this now, I think, the same reason I always paint a model's face first. It helps get the character across early and helps me visualize the rest of the job from an early point. This guy is a door gunner from a Valkyrie gunship. Cutting gluing, He's got plenty of room where that smelly ork used to sit.

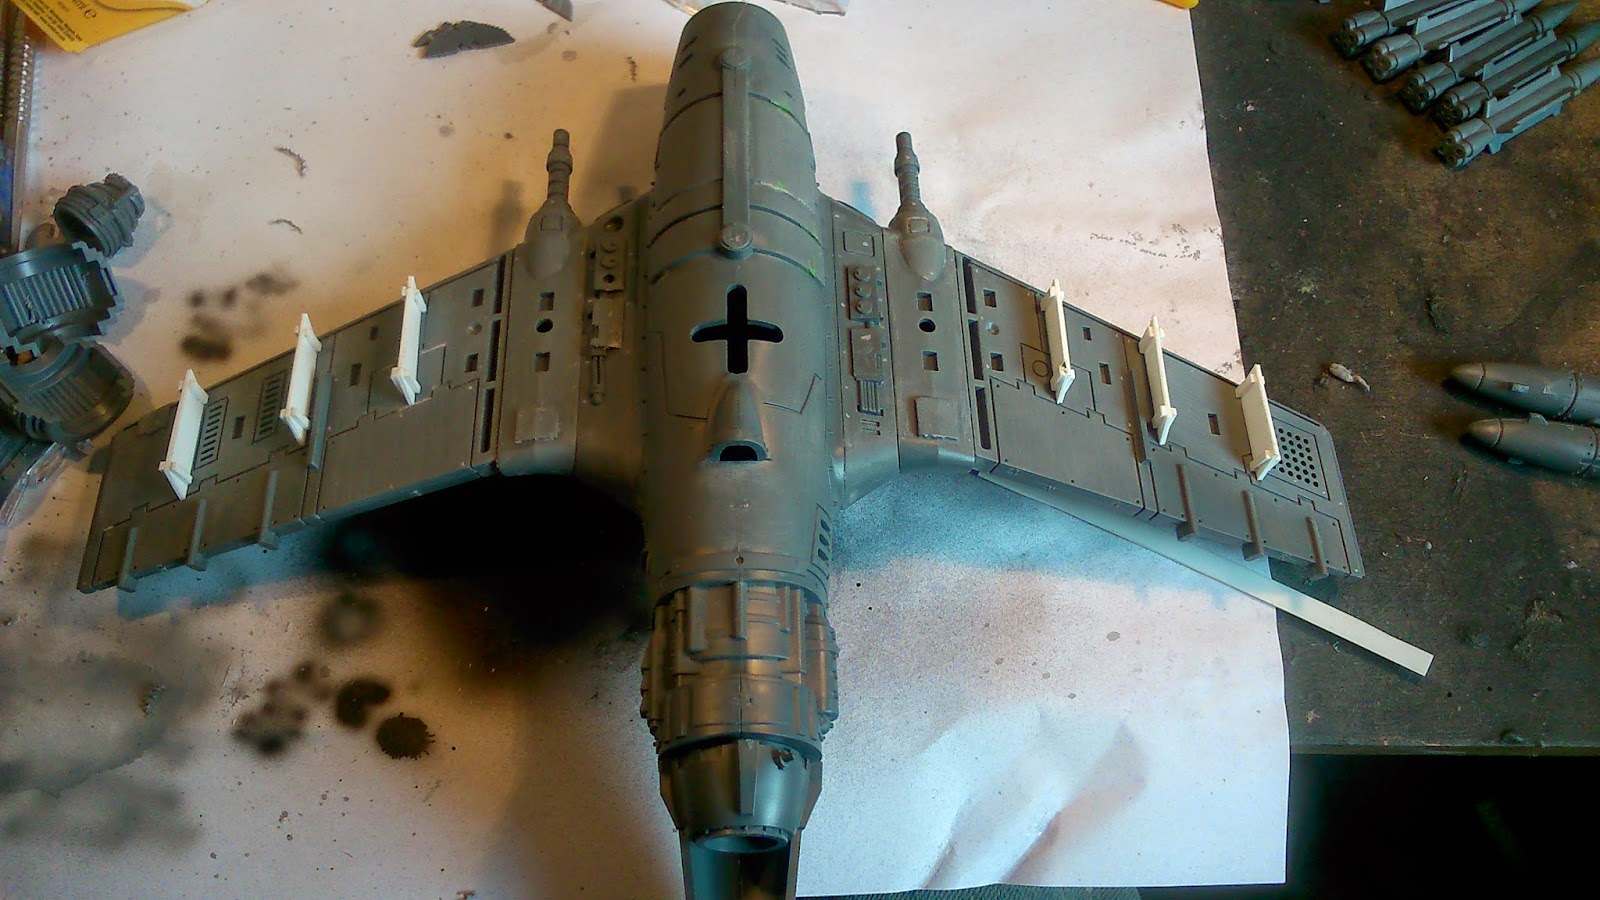
So more sanding next, she's starting to take shape, you can see. The big thing here, I removed the orky manoeuvring jets that were on the back of those sub wing bits. The angle was all wrong of the imperial warmachine!

Luckily, some flaps and panels can just be reversed without the need for sanding to show their true imperial colours!

Next up, the anti air gunner getting a pair of much more reliable heavy stubbers. More cutting a gluing a door gunner to squeeze him in that grot's spot!

Right, now we're talking the business end of things. Drilled out 6 hellstrikes/sidewiders(lets not forget the american influence) exhausts and cut some pylons from styrene sheet.
Mounted under the now smooth fuselage. kind of getting there now.

So this is where she stands now. Drying on my glue. Hopefully I'll get it in the sky next week!
Cheers,
Gonders
ReplyDeletekingroot install
new kingroot
kingroot pc
kingroot android
This gives you access to the app homepage.
showbox
ReplyDeleteshowbox apk
showbox download
showbox for windows
showbox for android
nice app.